I'm writing this blog as a journal of my build of a Duo-660 catamaran. Most of the content will be dedicated to this endeavor. I try to populate posts with pictures since it is instructive. The notes tab is for misfit posts. Always nice to have a place for the misfits.

-Esteban

Saturday, July 23, 2016

Forgot About Epoxy Coating

I was all excited about putting on the second deck piece, when I realized I had a bare wood piece of plywood on my hands. So I got it epoxy coated and given that two coats are required the soonest I will put the plank on will be Monday.  Below is a picture of little plates I made to hold the hull interior lights, probably better that I wire this before I put the deck over it anyway.


Also its been awhile since I put a beauty shot up so here is what the bow looks like clean and with the forward lazarette hatch in place.


While waiting on epoxy coat curing I will busy myself with either electrical installation or making an anti-vortex panel.

Mast Step Installation

I finally did it.


This was actually done Thursday. I got rained out yesterday, so today is the day for installing the next deck section.

Thursday, July 21, 2016

Gotta Have Sole

This is actually yesterday's post. I just wrapped up late and then got busy with non-boat stuff. Building in the sole is going to kill me. It is just taking so long to deal with this and it is likely the least interesting part of the entire project. I added stiffeners and I bolted through one stiffener per plank. It holds up but I can tell that I really need to bolt through both stiffeners. On the upside it seems I won't need any additional hold downs, and the fastener heads actually look kinda cool on the sole.

I finally installed the anti-vortex panel backing plate.


And installed the verticals for the ladder.

For today I will continue with buttoning things up in preparation for installing the next deck section. Specifically mast step installation, cutting out the center stringer and applying epoxy coat at the mast partner, continuing electrical installation, and adding some rungs to the ladder.

Tuesday, July 19, 2016

Getting Side Tracked, In A Good Way

I made it to about 75% complete in cleaning the garage. But in the process remembered that I need to wire up my test power supply for the boat. And figure out which bow light is green and red.  I bought the power converter from Amazon for $9. It came with a cigarette lighter connection but puts out 12 volts and up to 10 amps. So I cut off the cigarette lighter thing and soldered on some alligator clips. You can't tell which light is which since they come as a set, the LEDs themselves give off the color so you can't tell by looking at them unpowered, and they were not labeled.


Simple work but different than what I have been doing so a nice change of pace.

Playing Injured

The good news is that we won our adult league kickball game on Sunday. The bad news is that I jacked up my foot in the process.  Yesterday I was completely out of commision, but today I can limp around and get some stuff done. I got the second coat of epoxy on the bow deck and coated the sole structure parts. Also the hull is too deep to just step into, so I started fitting a small ladder to the inboard side of the hatch opening. Also added some 4mm shims the the hatch framing. I needed these because these parts are not bent the way the shear is so there would be a gap (between the structure and the deck). I will go back after the glue cures and fair these to the shears. Lastly I started adding the last bits of structure to the mast partner area before I cut away the center stringer.  I'm likely overbuilding this but given that I want to make a removable mast partner piece to interface the mast I think a particularly stout partner is appropriate.  Took some creative clamping to get this all set.


Tomorrow I will continue work on the ladder, try out the beefed up sole, continue working on the mast partner, and start strategizing on how to install the other side of the beam bracket T-nuts.

For the rest of today I have to clean my shop. My habit of not cleaning as I work has gone too far....again.

Friday, July 15, 2016

Back!

We had company in town this past week. It was fun and I even did some sailing (light winds, but still fun). But now it's time to get back to work on the boat. I finally finished trimming the bow deck and got a coat of epoxy on.


I thought I would quickly install the sole between bulkheads 4 and 5 and that is where the problems began. I test fit the planks and it all looked fine, but with the added 1x2 structure pieces I found I added places for there to be small interferences. Also, I weigh entirely too much (220 lb) for the way I put the sole together.  So after a valiant effort to make it work through shear force of will, I pulled out the planks and started adding additional stiffeners.


If I stepped on the planks wrong they would bend at one side. I peeled some of the bonds partially apart. The stiffeners should help to stop that.  In addition I'm going to add 2 fasteners per stiffener to help keep stiffener and plank joined. Also I will sink some polymer brads along the length of the stiffeners to give the beam some additional shear capability. I think I may still need some hold downs to keep one plank from lifting off its neighbor if it is loaded at an edge. I'm reluctant to do that because I want the sole to be removable. Maybe I can come up with a couple of gates at the plank ends that could serve to hold down all the planks at once, while still being removable. First I'll wait to see if the reinforcing works on its own before further complicating matters.

Before running into so many problems with the sole I was going to make and install the anti-vortex panel backing plate. That will have to wait for the sole to function. In the meantime I need to trim out the mast exit hole and shim up the midsection deck section a bit so I can get the next section of deck properly seated. Lots to do, but good to see the inside of the boat shed again.

Wednesday, July 6, 2016

Lazarette Hatch

I lost a day fixing our relatively new (18 months) LG dishwasher.  After much fussing it turns out the error code it was throwing was due to a clogged drain line. We went for both an LG refrigerator and dishwasher when we remodeled our kitchen, not impressed.

Back to the boat. I'm squeezing in boat time in very small increments in between other things.  Over the last two days I finally got the hole for the lazarette cover cut out and started in on drilling then filling then drilling the holes for it's t-nuts.


Nothing cool to talk about, I'm just happy to have done anything on the boat at all.

Sunday, July 3, 2016

Making The Bow Deck Look Right

I spend a little time on the boat today. And I spent it all just trimming the edges to flush to the hull. I had forgotten how much work this is. I got close with the Fein tool and then finished the job with the belt sander. I did both sides and gave a bit of shape to the top of the bow timber. Still have to trim where the deck overhangs the forward beam relief.  A lot of work but it is starting to look pretty.


Saturday, July 2, 2016

Bow Deck Installed!

Warning: this is a long post. But only because there is a lot to report. Yesterday the small one and I went to the fishery supply store and bought some wire. With that done I had no more excuses for not having the deck installed on the bow. I installed the wires for the bow light yesterday, note the wires in anchors in the pictures below.

I started out by chasing the threads out of all the trampoline pad eye T-nuts.  I'm going a bit against Bernd's recommendation but I've had many a day ruined by fouled threads. And if I have a problem with these threads I want to know now instead of after the deck is installed.  It was harder to do than it should have been, likely because I was sloppy with the epoxy when installing the T-nuts. But after some fiddling it all looks like it will come together just fine.


I can't emphasize how weirded out I am by installing this deck piece. I think the issue is that I am cutting off my access to this part of the boat. I suspect it is a similar emotion as kids leaving the house (I've done the best I could, and now the this bow has to go it alone).  A symptom of this is that I checked continuity of the bow light wires. Basically checking to make sure that brand new copper wire conducts electricity. It tested fine. I suppose I will to weird stuff when the kids leave the house too.


The next task was to put in the capsize (or holed) flotation. Per Bernd's recommendation I am using plastic jugs. I overshot a bit as Bernd called for 150 liters of flotation in the second compartment (between bulkheads 2 and 3).  I could not fit it all in that compartment, due to the lazarete. So I put in the entire case of jugs (48 gallons) in the first two compartments. Here is the before picture.


And the after picture, showing the lazarette floor installed.


For deck installation I ran into a problem where the flange on one of the 1/2" T-nuts was running into the bulkhead before it was in it's clearance hole. So without panic, I cut off a section of the flange with a dremel tool, while the epoxy was already mixed. While the solution was straight-forward, I'm most proud that I did not freak out. With that issue fixed I installed the deck. I used a couple of cleat and chock holes and the beam holder holes to initially hold the deck in place. Then I went back afterwards and ran a few screws around the deck to get it well seated. Here is a picture of the final installation.

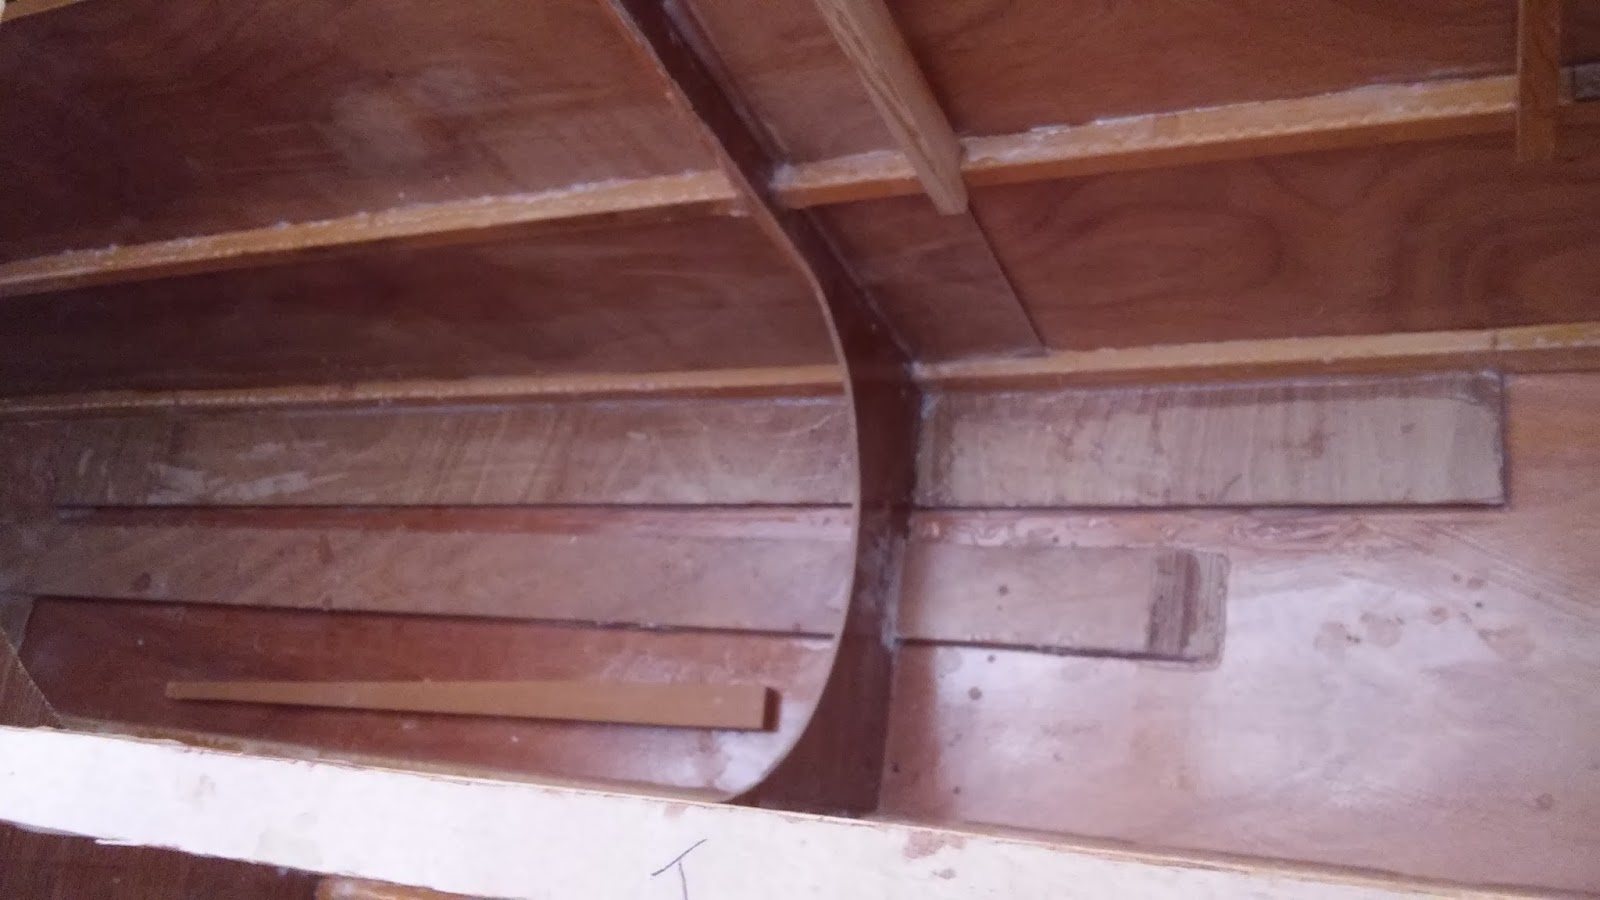
Last picture shows how everything lines up to the threaded beam holder fastener, the entirety of the hole is lined with epoxy.


Still a few things to do on the forward deck. The lazarette cover hole has to be trimmed out and the T-nuts for the last cleat (for a fender) still need to be installed. Access through the hole for the lazarette cover should be sufficient for that. Lastly will be the requisite epoxy coats. Then it will wait for fiberglass with the rest of the deck.